Cooks of Crocus Hill Foolproof Pie Crust
Recipe based on class at Cooks of Crocus Hill.
NOTES
1. This recipe yields two crusts (9" or 10" pie), or one "double crust."
2. Use only half a recipe for one crust, such as if you are making a crust for chicken pot pie.
3. A separate recipe for a traditional apple filling is posted elsewhere.
4. Put ice in about 2 cups of water about 30 min ahead of time.
5. Be sure that the shortening is a bit cooler than room temperature but still workable/pliable. All the fat (butter and shortening) should be very cold but workable. Lard gets to room temp very quickly. Liz put the portion of shortening in the freezer for about 30-45 min, per the chef-instructor's suggestion, and it was nearly frozen! In class, though, the shortening we were given to work with was rather soft.
6. A bench knife might be a cleaner way to cut the butter into 1/4" cubes if the butter is nearly frozen, or if the bench knife itself is cold. When Liz used this with refrigerated butter, it didn't work as well as using a butter knife.
7. Using a pastry cutter instead of using your fingers to cut in the butter will slow or prevent the transfer of heat to the butter and shortening.
8. The chef-instructor said that if you use a food processor to cut in the butter, be sure the butter cubes are frozen.
9. To make a crust for quiche, omit the sugar. We don't think anyone would miss the sugar if it were omitted for pie crust, too.
10. The principles and process for making this whole pie crust are the same as when making the crust for an apple galette.
11. This recipe is for a "raw shell" crust, which works great with an apple filling! For a custard-like filling (eg pumpkin pie), be sure you look at how to parbake the crust.
12. To freeze the dough, after shaping it into disks, double wrap with plastic, put in a ziplock bag, and freeze. Then place in fridge the night before you want to make the pie crust.
13. To freeze the crust, roll it out instead of putting the disks in the fridge. After shaping it and placing it in pie pan, freeze it, as is mentioned on this website, about 3/4 of the way down.
INGREDIENTS
2 cups + 1 Tbl all-purpose flour
2 Tbl sugar
1/4 tsp salt
1/4 tsp baking powder
6 Tbl unsalted butter
5 Tbl cold shortening or lard
5-6 Tbl ice water; more if needed
PREPARATION
1. In a large bowl, combine the flour, sugar, salt, and baking powder.
2. Cut the butter into 1/4" cubes and put back into fridge to keep cold.
3. Measure the shortening and if it's room temperature, considering putting it in the fridge until it's needed (see NOTES above).
4. Using your finger tips or a pastry blender, cut butter into flour until the flour begins to form small clumps the size of peas. Be sure to stir up the flour mixture from time to time (or rotate the bowl a bit) to work the butter in evenly.
5. Do the same with the shortening and gently work the flour until the texture is like coarse cornmeal. Think "Less is more."
6. Add and gently work in 5-6 Tbl of the water. You'll probably need to add a few more Tbl as you go, but work the dough as little as possible, which helps turn out a flaky crust.
- Here's a tip from the galette recipe: "The dough should be cohesive and a bit sticky and uncomfortable to hold."
- If you press the dough together and it falls apart, or if you can see flour, it needs a "sprinkle/blessing" more of water. You can sprinkle directly onto the area that is flour-y.
- The dough will be a bit stretchy.
- Expect to see visible pieces of butter or shortening: it's all okay.
7. Form the dough into 2 disks, with one a couple ounces heavier than the other; flatten to about an inch high, wrap in plastic wrap, and refrigerate until dough is firm--about an hour or two...? Or roll out the dough (see below), place it in the pie tin, and freeze it!
- The larger disk is for the base; the smaller one is for the top.
8. Toward the end of the refrigeration time, prepare the filling you want for this raw shell crust.
Rolling out the crust: Work the dough as little as possible but as much as needed.
9. Remove dough from fridge and sprinkle work surface (eg counter, mat, etc) and rolling pin with flour.
10. Unwrap one disk of dough; keep second one in fridge if environment is overly warm.
11. Gently reshape disk if needed back into disk and, working from the middle outward, roll the dough into a circle roughly 12"-13" in diameter, so it's a few inches wider than the pie tin you are planning to use.
- Use long strokes with the rolling pin.
- Every few strokes, be sure to rotate the dough.
- If the dough sticks to rolling pin, be sure there is no dough or butter on the rolling pin, add/or a bit more flour to the pin or to the surface of the disk, or to the counter, and/or flip the dough.
- As you are rolling the dough, you may notice bits of butter or shortening, which is fine.
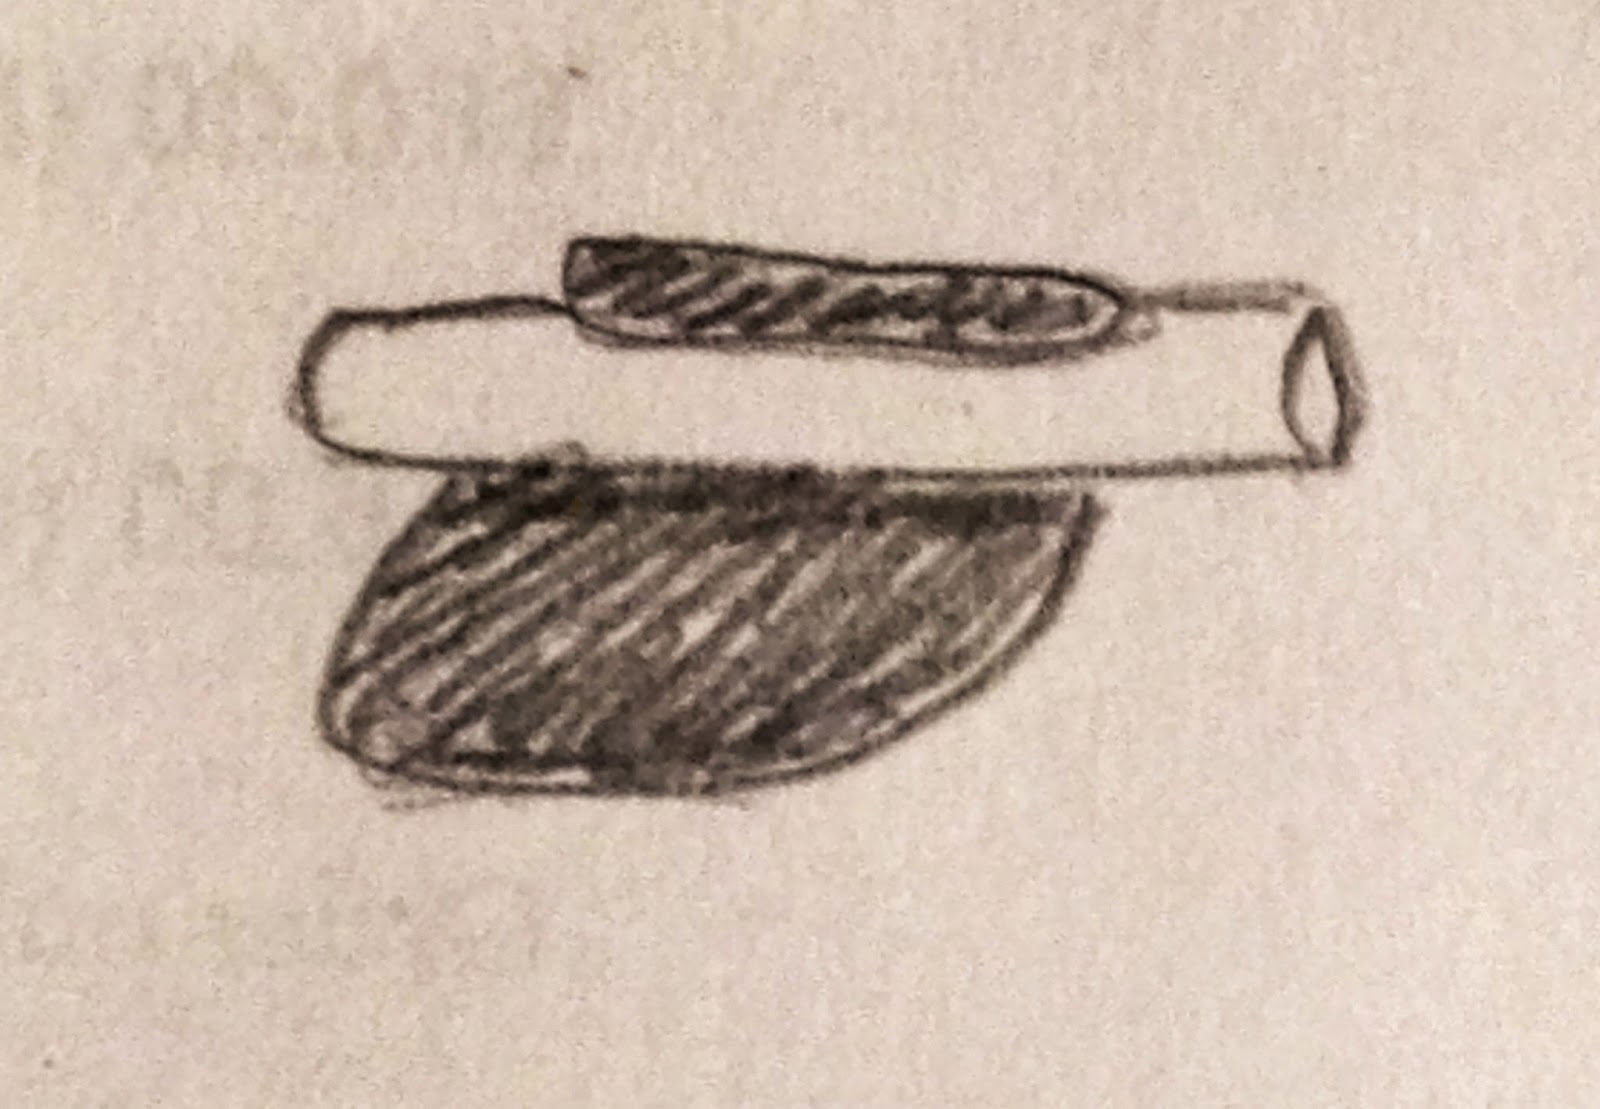 |
| Preparing to drop rolled dough onto awaiting pie tin |
12. If the dough cracks when you first start rolling, let the dough stand for a minute or two to warm up slightly.
13. When the dough is wide enough to extend a couple inches past the rim of your pie tin, place your rolling pin on the upper portion of the flattened dough, leaving about 4-6" beyond the pin. Then pick up that flap, lay it on top of the rolling pin, pick up the pin--which in turn will draw up the dough--and place the rolled out dough gently into the pie tin (see sketch at right).
14. Make sure the dough lies easily on all sides of the pie tin and trim all but 1"-2" of the pie dough from around the edge.
Finishing the pie
15. Place whatever filling you are using onto the bottom crust.
16. Moisten the edges of the crust to help with the seal after the top crust is laid out.
17. Repeat for rolling out the second disk of dough for the top crust, making this one a couple inches smaller than the first, about 11"-12" in diameter.
18. Again bring a flap of the dough over the rolling pin, transfer it to the top of the pie, and trim any excess.
19. Gently roll the edge of the bottom crust onto the edge of the top crust and press two together.
20. Crimp the edges, any which way you want.
21. Preheat oven according to the recipe for the pie's filling.
22. Brush top crust with cream or with an egg wash.
23. Sprinkle top with sugar, with lemon sugar, with cinnamon-and-sugar, or whatever may be appropriate.
24. Put the prepared pie onto a baking sheet and put on the middle rack and set timer for 20 min.
25. After 20 min., cover crust either loosely with a ring of aluminum foil or with a silicone crust protector.
26. Finish baking the pie according to the recipe for the filling and let cool for an hour or two before serving.
NUTRITION for an all-butter crust, per slice (if a pie crust is cut into 8 slices)


Comments